Tuesday 26 August 2014

Little Red Ridinghoold Chair

When I first laid eyes on this little cutie, I was not impressed.  She was in quite the state.  Patchy poo-brown paint, a broken seat from that time chunky Aunt Mildred tried to sit on her, and the most tacky and icky plastic floral seat cover I've ever touched.  I actually cringed and held my breath while I removed it for fear I would need to be put in quarantine. 
 
 
But, ta-da!  How smouldering does she look now?  Ready to strut around on the catwalks of Europe I think.  ;)

 
In all seriousness though, she was a family heirloom belonging to Mr. Chuckle's sister who was keen to keep her in the family, but perhaps just update her to a more fashionable standard.  Her intentions were to use her in a nautical-themed room in her beautiful new house. 

 
We decided on a bright red, as she will be placed in between some navy blue curtains and thought red would pop nicely.

I used a shade of red called 'amazing' which I diy'd up into chalk paint.  I did something new here for the first time.  I had just purchased a super cute little paint sprayer called CRITTER which uses 500ml mason jars to hold the paint.  

 
The CRITTER is a siphon based system which retails for about $50 and connects to an air compressor.  And for the first time, I SPRAYED a piece of furniture.  It turned out great, and I can't believe how much quicker it was to apply the paint. All those little curves and nooks and recessed bits would have taken forever to do with a brush, and it would have been hard to avoid drips. 

 
I will write up a review on CRITTER at some point, but I feel I need to use it a few more times before I do so.  It was great on this little lady, but I need to see how it performs on a larger piece of furniture.

 
DIY chalk paint dries quite sandpapery, so I lightly smoothed the finish out with some sand paper before applying clear wax and highlighted with just a few dabs of dark.

 
I also needed to replace the seat too.  I cut a new piece of board and also cut a new piece of foam to fit.  I finished with this cute anchor patterned upholstery fabric.  I have only reupholstered chairs a couple of times before, and a I do not claim to be a pro, so all you critics looking at my corners and 'tsking' under your breath, well, just pipe-it-down!  ;)

 
At first I wanted the fabric to be blue, red or white, or any combo of those, but I think the gray is nice in that it still keeps with the nautical theme, but does so in a more contemporary way.  Chuckle's sister liked it too.


I have searched high and low for my before picture, but so for, I cant find it anywhere.  I hate when that happens, so far now, you will need to use your imagination. 

 
This is a picture of the chair after I sprayed a couple of coats. And below is the CRITTER sprayer hanging from my compressor, it is such a cute sprayer and has a real 'homemade' look to it with the mason jar. 

 
It does give a crazy amount of overspray though, you NEED to wear protective gear on your eyes and mouth, and we also created a DIY spray booth using plastic drop cloths.

 
The cute fabric in the store.

 
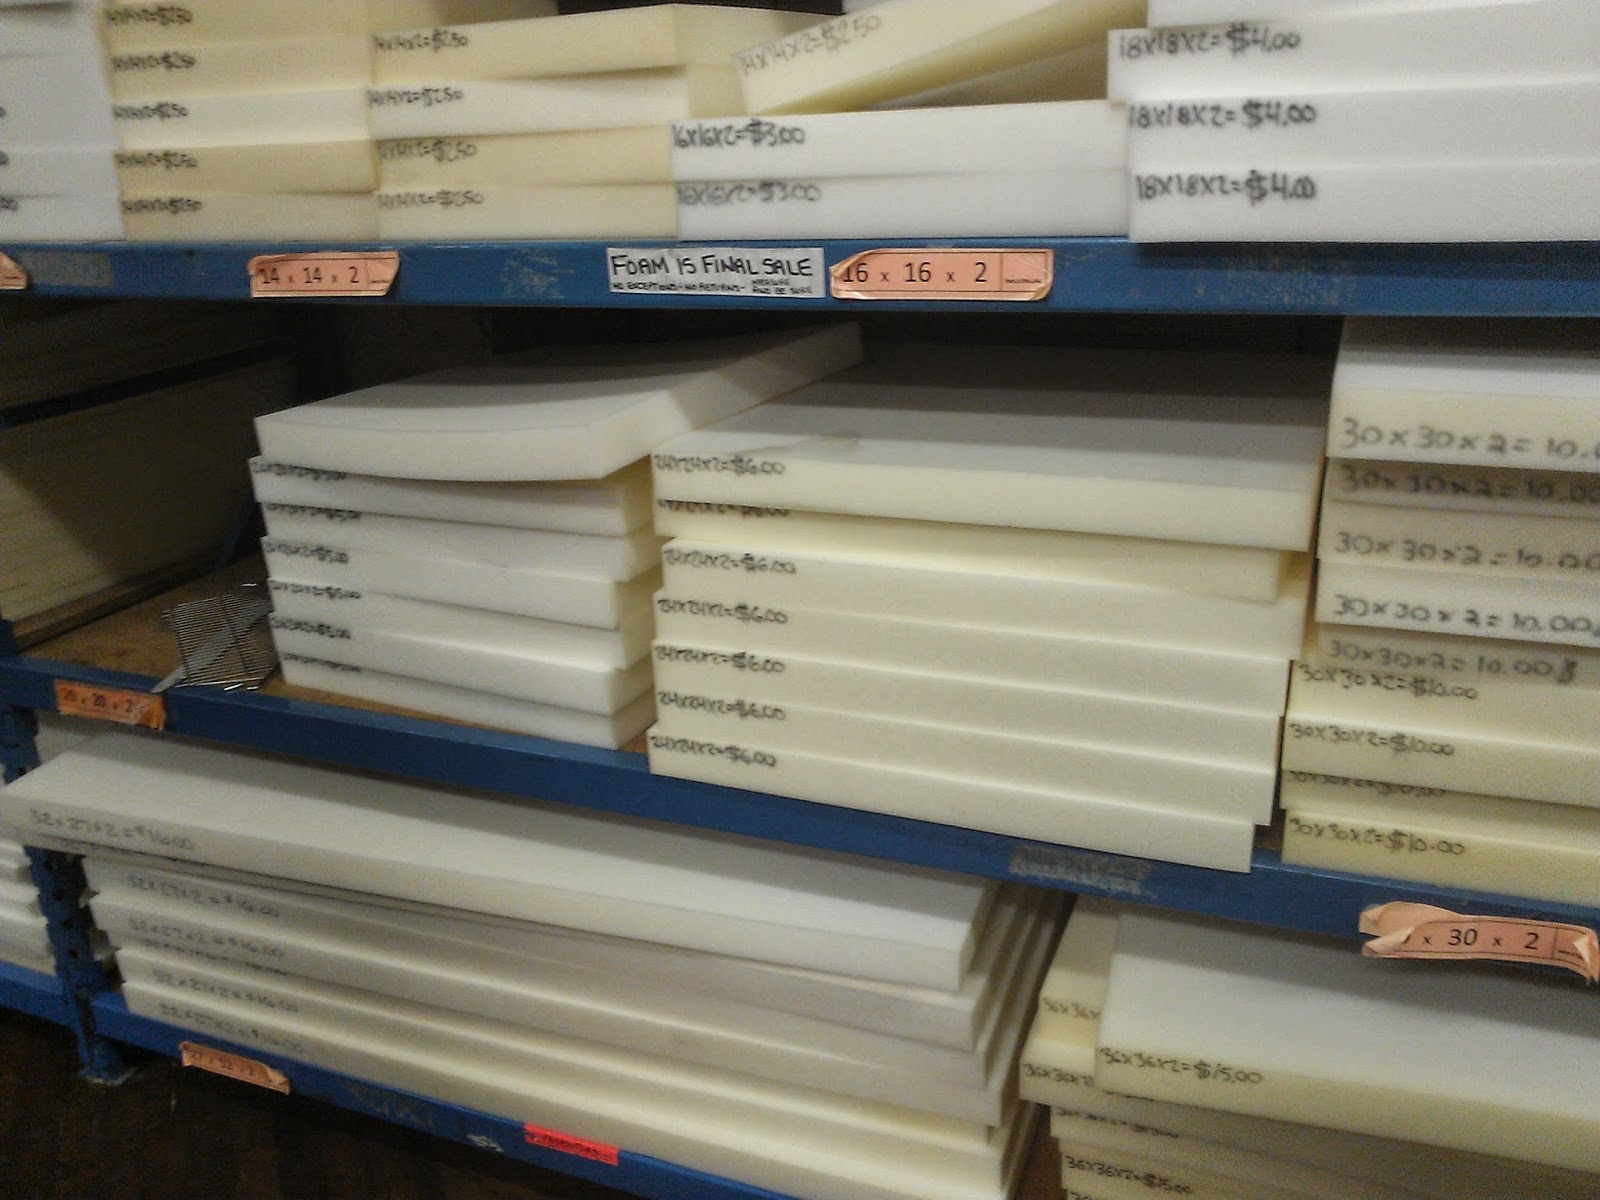
And shopping for the foam.  Foam is expensive!

Thursday 7 August 2014

A Little Free Antique Dresser in Gray

Just a little post today.  I picked up this adorable petite antique dresser on the curbside with a FREE sign attached to it.  Yes please!  I went back and grabbed Mr. Chuckles and the Mazda and ushered her into the back.

 
I opted to paint it in a gray chalk paint because it gets good coverage and is a nice neutral colour.  I painted the original wood knobs in white for a nice little contrast.


There was some cracking on one of the middle drawers which is visible in the picture above, I glued and clamped it, but I didn't try to wood fill or smooth it out.  I didn't think it would be that noticeable..which it kind of is.  Grrr.


She is fairly narrow which just serves to make her legs look even taller.  Like a tall and gangly (but still adorably cute) teenager. And look at those adorable wooden caster wheels.

 
The before shot gives some insight as to why it was free, but it sanded back really easily.  A nice little find for me. 

Saturday 2 August 2014

Two tone MCM and some twins

I love this piece. The little strip at the bottom between the two legs really does it for me.  Serious.  I am really happy I decided to keep the legs the original wood and not paint them white.

 
She almost didn't make it, this girl.  I paid a good deal more than I normally would for her, but she was in really good condition and my nosing around in the store didn't uncover anything better, so I had Mr Chuckle's and the store clerk load both her and her baby twins (nightstands ) up into the Mazda.  Sadly, we forgot any type of strapping to fasten them in place.


Fast forward ten minutes, pan in on a plucky Mazda 3 chugging down Victoria St. with a dresser gaily swinging out her hatch.  Red light turns green, foot tickles accelerator, dresser falls out back of car onto busy street.   BOOM.
 
 
It took a good split-second for Mr. Chuckle's and I to realize what happened.  A lighting fast glance into the rear-view confirmed the suspicions the loud BOOM had planted in my mind.  The dresser was now lying corpse-still in the middle of a very busy street.  Shhhhhhhhhit.  Mr. C and I both jumped from the car just in time to witness the old man driving the SUV behind us pull out into the other lane waving a fist at us ' You pesky kids!'. 
Oops.
 
 
We managed to reload the old girl with much less fuss than you would expect from a dresser lying in the middle of a busy road, and the icing on the cheesecake was that there was no damage.  Not to the piece, not to the Mazda, and not even to my ego.  Perfect! 

Mr. Chuckles on the other hand was a bit broody over this 'embarrassment'.  Men are so funny. Female = 'wow, we really dodged a bullet there!'.  Male = 'that was really embarrassing, I can't believe YOU didn't tether the dresser down better'.
 
 
I added insult to injury not 1 Km later when I spotted an adorable curio cabinet cast off on the roadside. Who throws these things away?!  It took some coaxing and ego stroking, but I managed to convince him that we should go back and pick it up.

 
Ok, enough story telling, and onto the transformation.  I opted for the ever so popular two-tone in a bone white.  After sanding and priming, I used a Cabinet Coat paint from Benjamin Moore which I love.  It gives such a wonderful finish that looks virtually brush-stroke free.  And it is scrubbable as well. Bonus!  This is now my go-to paint for whites.  I still love my Dulux Diamond, but for whites, I just can't go past the cabinet coat. It produces such a wonderful finish.
 
 
I was tempted to paint the nightstands to match, but only the tops and drawer facings had any real sign of wear, so I thought it would be easiest to refinish those parts and keep the rest original. Yes, I admit it, sometimes I do what is 'easiest', sue me. 

 
 They turned out great.  One of the tops has excellent wood grain, nice and swirly.  The other one must have been fed the dregs at the lumber yard because she is a little on the bland side.


These are really short pieces (22") which makes the legs look even taller than they are. In the words of Ron Burgundy, 'Its an optical illusion'.