Showing posts with label MCM two-toned dresser. Show all posts

Sunday, 19 April 2015

A Motley of MCM Pieces

I was going through my files and realized I had lots of MCM pieces that I haven't posted about.  Sometimes I don't feel an urgency to post pictures of pieces that have a similar look to pieces I have done before.  I think I have quite a few cobalt blue and gold pieces I have done too. But if I were to post them all I'd might be mistaken for doing the same 'look' over and over again.  
 
 
But I thought why not do a little motley of some of the nice two-tone mcm pieces I have done recently.  For quite a few of these pieces I actually wanted to refinish the entire piece rather than do a two tone, but there was always a chunk of veneer missing somewhere that would have been beyond my ability level to fix.  I have tried staining 'stainable woodfiller' but never had much luck with it.

 
For most of these pieces I was able to just touch up the original drawer facings with just a bit of gel stain.  It covers the nics and scratches and works a bit like a magic eraser. The piece above had a wonky back leg, but Mr. Chuckles was able to work his magic and fixed it up great.

 
For all of the pieces I prepped by sanding and wiping down all of the dust before priming (in some cases I needed to break out the Zinsser BIN to stop bleed through) and painted in either Cabinet Coat, or Aura.

 
This coffee table was in great condition, but there was one huge coffee ring water stain on the top level which necessitated me refinishing both the top and main level tiers for a uniform look.  The old finish sanded off very easily, but that water stain ran so deep that I was afraid I was going to sand right through the veneer.  In the end I tried a trick I found on the internet to rub a hot iron over the stain (after I had removed the old finish).  At first I didn't think I was having much luck, but as I kept going, the stain gradually became less noticeable.  After I re-stained and sealed with polyurethane it isn't noticeable at all.

 
This piece was stunning and I wanted to just refinish the whole thing as the wood grain was so gorgeous, but it had three separate chunks of veneer missing from the body which would have been a nightmare to try to fix, so in the end I went with a two tone look.  I also refinished the drawer facings on this one as they were in pretty rough condition. The cute little pulls are original.


Friday, 25 April 2014

Two tone MCM with a Minny-me

The latest MCM.  I love this piece. Especially with the sliding cross-hatched panel!  I have taken pictures both with and without it, and I prefer the extra interest the piece has with it.  Probably because I have done this look so many times with the dark drawers and white body, so having this little panel is something different, and I like it!


I'm also a big fan of the legs.  They still embody the MCM style, but they have a geometric uniqueness that can be hard to come by.


As far as the transformation goes, I painted the legs and body in off-white.  the drawers were cleaned and spruced up, but they have the original finish because they were in very good condition.  The finish is a dark walnut, it looks a little 'warm' in the pictures.


And here is the minny-me!  If was unfortunate that the set only came as a pair.  I would have loved to have had a matching nightstand.  Minny-me is lonely.  I love the little panel cross-hatched bit on the little nightstand.  It isn't removable or slide-able like it is on the big piece, but it is really classy. 


Below are a few more pictures with the sliding panel on the piece.  There are actually 2 sliding panels, but I think I prefer it with just one of them on.  


Its great when you find a piece that is versatile!  I think this piece could be great in the living room, but still also be awesome in the bedroom with the nightstand working in tandem.


Tuesday, 15 April 2014

9 Drawer two-tone MCM

Ahhh, more two-tone mcm goodness.  This one attracted a lot of attention.  I had a lot of people responding that they loved the slanted drawers.  At first, I didn't really like them, but I have to admit they grew on me.


I followed my usual routine here, sanding back everything and then priming and painting the casing, and gel staining the drawers.


The tall legs are great on this piece.  So airy.


Im feeling a little lazy to post a lot of the details, especially when I feel I do this look so often that the few readers I do have, are probably bored of it by now!  So I shall let the pictures speak for themselves! But if you do have any questions about how I achieved the look, feel free to leave a comment!

Sunday, 12 January 2014

Two-toned Nightstands

I actually painted these cute little nightstands before the Emerald/Green 9-Drawer, but I was so excited to post about that one (I love the way it looks!) I posted that one first.  These little guys are solid wood and were in great shape when I picked them up.


I went back and forth about what I wanted to do with them.  I knew I wanted a two-toned, but I couldn't figure out what to leave wood and what to paint (off)white.  In the end I kept it simple. I refinished the tops and painted the rest of the piece in white.


First I stripped back the tops and sanded the body and smoothed everything out. I then taped off the underside of the top piece and stained it using a dark walnut / light walnut combo.  After the stain had a chance to dry I primed everything using Zinsser BIN as I was worried about bleedthrough.  I used three coats of my Dulux in an off-white, and finished with a few protective coats of polyacrylic.


Easy peasy, this was a really great small project which I did straight after the China Cabinet that almost did me in (read about it here). Sometimes after you finish a mammoth piece you really need to cool your heels and do something small and textbook.


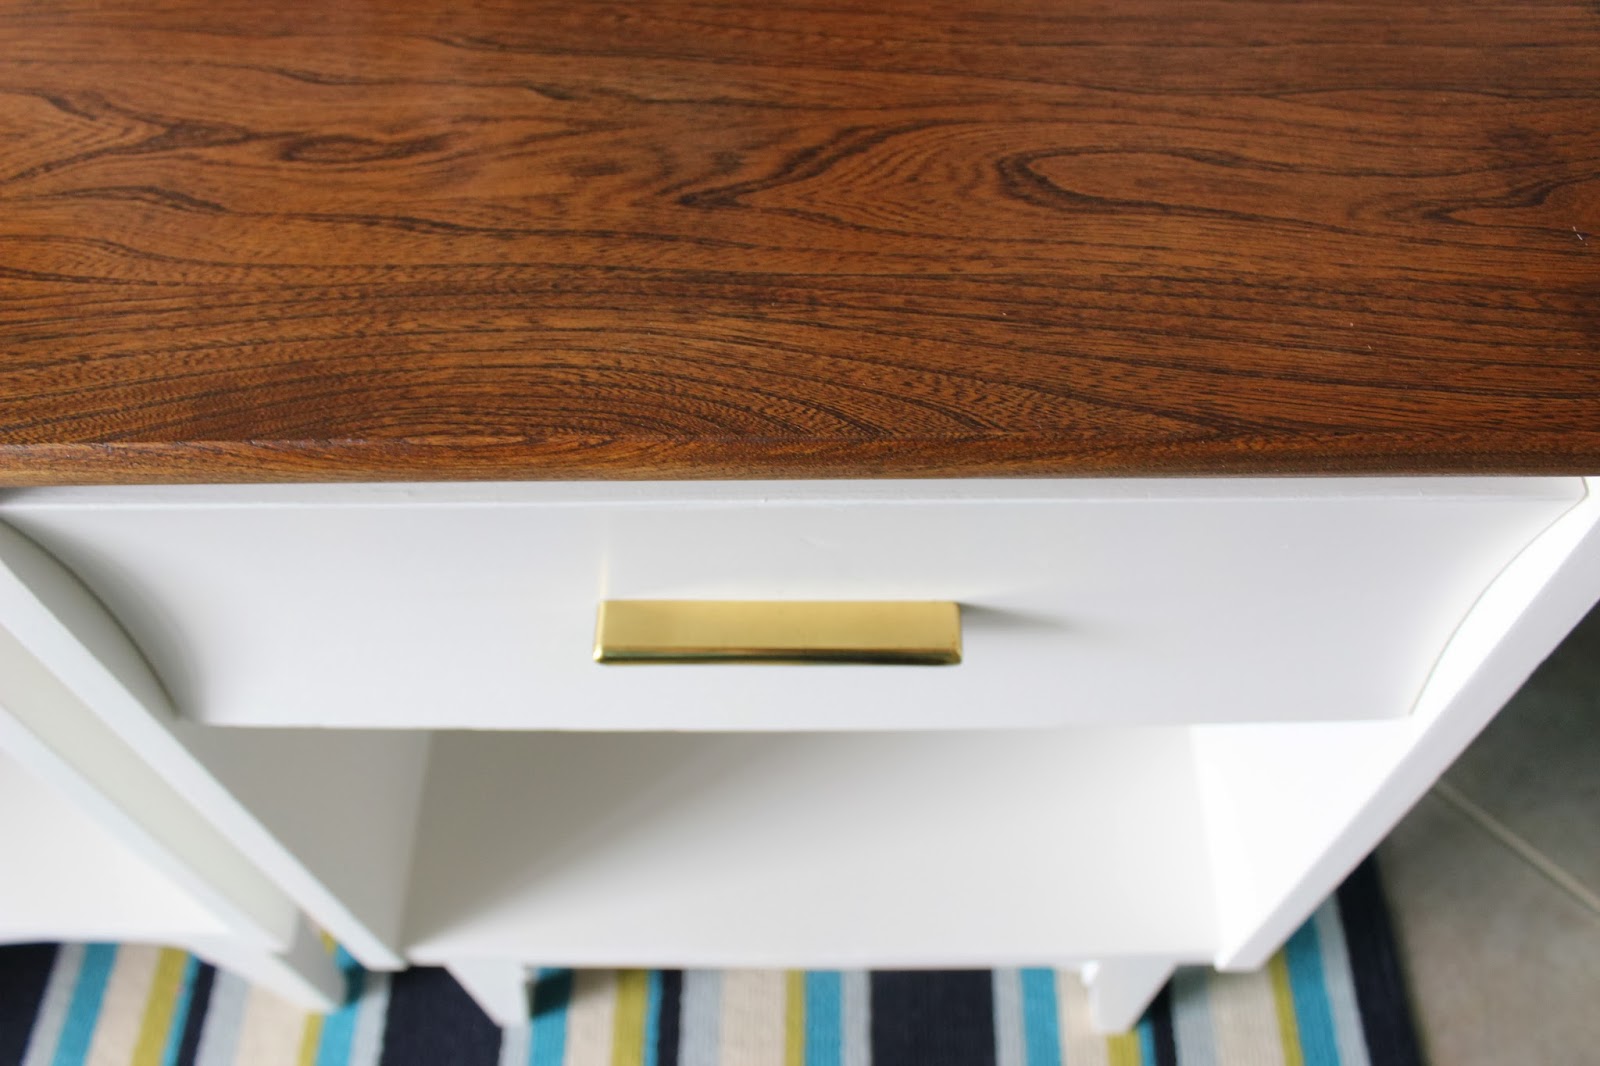
I filled the holes from the old hardware, and opted to use these contemporary looking gold pulls instead which I have used before (here) and (here). I think they give the piece a nice and chic feel.  I also love the way the wood grain looks with the new finish.


Sunday, 8 December 2013

Two-toned Hollywood Regency Dresser

I picked up this dresser a while ago and it has been sitting dejected in the corner of the garage ever since.  I wasn't neglecting it out of spite, it was just that I couldn't figure out what I wanted to do with it.


At first I thought gray, but than I reconsidered because the wood grain was just so lovely.  I didn't want to paint out the entire thing and cover it up. 


Than I thought 'hey, how about a 2-toned!'.  But again, I didn't want to cover up that grain on the top..so at last, after much deliberation, I decided I would do a reverse 2-tone.  I decided to paint out the drawer facings in white, and re-stain the body of the unit in dark walnut (I usually do it the opposite way).


The finish came out great.  I protected with tung oil, followed by a few coats of wipe on poly.  the result is a nice low-sheen finish.


I really love this piece, I think she looks very chic and has that great retro feel as well.


I left the inside of the cupboard original wood (it was in great condition) to tie in with the body of the dresser.


Here is the before.  She was in excellent shape.  There were divots and nics though, so it did warrant a strip and re-stain.


Sunday, 24 November 2013

It's Time for Another TWO-TONED MCM!

Ok, Ok.  So this is nothing new and innovative.  I know I have done this look oodles of times before, but I really do love a nice mcm dresser with a cool two-toned outfit.


I sanded, primed and painted the entire body of this beauty.  Because I virtually stripped most of it back to the wood, I had tons of bleedthrough!


I did a coat of Gripper, then a coat of clear shellac to block the bleeding.  I then did another coat of gripper, but was still having bleed through, so I then did a coat of Zinsser BIN.  I then FINALLY was able to do two coats of an off white on the sides and front, and three on the top.  


The drawer  facings got a light sand, and were then re-coated with gel stain in dark walnut.


And voila, another two-toned mcm gem!


Have a great week!

Sunday, 3 November 2013

Contemporary-meets-vintage nightstands (and a SURPRISE!)

I forgot to snap a before of these ones, but they are the matching nightstands to the dresser in my previous post.  Although they didn't have the Nike 'swooshes', they did have the pipe-shaped pulls, and the diamond shaped legs. 


I gave them the exact same treatment as the  long dresser.  Two coats primer and fours coats of paint.  I also stripped the tops and restained them.


They also recieved the same new hardware as their older sister.


The original drawers had two pulls on each drawer, so I had to fill four holes, as well as drill two knew ones.  I have decided I am not a huge fan of filling holes!


We initially had the nightstands stored upsidedown.  Mr Chuckles pulled out the drawer to look at the grain and discovered this little gem!!  Over 40s porn!  Ha ha.  We had a good laugh at this.  We had purchased the set from a lovely older German lady who was moving to be closer to the nursing home where her husband now lives. Clearly he forgot to thoroughly pack when he moved into his new digs!


Contemporary-meets-Vintage

This dresser took me to the brink and back.  I was nearly ready to pack in my paint brushes for good.  I cant be certain, but Im think it took me about 15-20 hours to refinish.  Way tooooo long.  Oh my word. This is the dresser I said I was going to pop a bottle of bubbly when she was all done.  Yep, it was that bad.  I needed alchohol in a big way at the end of this project.


That is what she looked like before.  She wasnt bad, but I knew I wanted to go for a contemporary - meets - vintage vibe, and those swirly little details and pipe-shaped wooden pulls were not going to cut the mustard.


Although I think she turned out great.  I am not so sure it was worth all the trouble.  Being honest here.


Ok, so lets talk 'steps' in this transformation.  First, we stripped the top down (to read about this experience click 'here'). Then we sanded smooth with the orbital, as well as sanding the rest of the dresser.

Secondly we had to fill all the holes on the drawers, there were 6 on each drawer.  This took two coats of wood filler, with sanding between each coat.


Because I opted to remove the Nike 'swooshes', I had a lot of little nail holes to fill.  These were finicky! Every time I thought I had them perfectly sanded, I would prime and do a coat of paint, only to realize that I could still see the holes.  I filled them three times before I was happy.  


I bought new hardware, I knew I wanted something that was gold, simple, contemporary yet still vintage.


I restained the top in a custom mix featuring walnut with some orangey hues.  I was surprised that the top didn't go as dark as I expected.  But I actually like the lightness of it as it shows the grain nicely.  I protected with tung oil and a coat of paste wax.


Initially I left the inside of the cupboard door white, but I wasn't happy with it, so I modpodged on some gray/white contemporary paper for a little bit of interest and 'wow' factor.


I had to change out the legs too.  The back legs were great, but the front legs had this weird diamond shape to them.  I wanted simple and clean lines, so they simply wouldn't do.  Four new legs please.


Big exhale here. I don't mean to whinge, but man, this girl was a lot more work than I anticipated!  I am treating myself by doing a quick and easy dresser next with lots of rustic character to it.  Cant wait!  White is so time consuming.  I did two coats of primer, and 4 coats of paint!

Off to drink the champers now!