
I love Christmas. The lights, the snow, the coziness, the steaming mugs of hot chocolate.. I lived in Australia for many years during my twenties and early thirties, and I never could get used to the hot Christmas'. It just didn't resonate with everything I had come to know during my childhood. Firmly back in Canada now, I am happy to say that Christmas feels 'right' again.
But sadly, I have come to find that the older I get, the less that ol' Saint Nick gets it right. This year the old codger wasn't entirely off the mark, he brought me a staple gun attachment for my air compressor (all you other furniture gals can appreciate how this is a useful tool), but what I had asked for in my 'Dear Santa' letter was actually a new camera. So when I unwrapped the wrong-shaped present, I vowed two things. Firstly, Nickster had seen his last plate of cookies from me, and secondly, I would brave the shops on boxing day and buy myself a new camera.
And I did. In fact, this beautiful green dresser was the very first subject I shot with my new Canon. Problem is, I don't think the pictures are that good. Eeeek. Maybe next year I should ask Santa for some skill and talent. I realize I will need to work at it to get better, but I have to admit I thought I would just pop in an SD card and magically transform into Ansel Adams.
.jpg)
But let's plough ahead with the details of the transformation. Mr. Chuckle's and I are off on holiday to PERU for the month of Feb, so I promised him this would be my last transformation before we depart so that we have lots of time to get organized and trip-focused. I scored this absolutely beautiful solid wood Peppler's dresser from my favourite restore. I shouldn't say 'scored' actually, because she wasn't exactly a steal, but given the great shape, and beauty of her, I was happy to pay a little more than usual.
.jpg)
Ive been loving green at the moment, and I custom mixed up this colour with some tint and dulux lifemaster paint. I sanded first and than primed the entire piece with Gripper which I had tinted a minty shade of green.
.jpg)
I painted one coat of primer and let that dry for a day, and than followed up with two coats of the green which I turned into chalk paint with plaster of paris. I had to sand between each coat to get a smooth and satiny finish, but its worth it to be able to play with colours (not to mention afford the paint!).
.jpg)
I used to find I had adhesion problems with chalk paint and would be able to scrape the paint off with my fingernail. I have learned a couple of things along the way that help prevent this. A) I always sand. B) I always prime. I find the topcoat paint sticks to it better. C) I buy a good paint (not sample pots) that has good adhesion - I really love Dulux. and Lastly (D) I wait a full day or sometimes two for the paint to cure before I wax it. Waxing moistens the paint underneath again and makes it suceptible to scratches. Kind of like when you paint a second coat of paint it moistens the coat underneath it. You can read all of my TIPS about BETTER DIY CHALK PAINT by clicking HERE.
.jpg "Emerald Green Dresser")
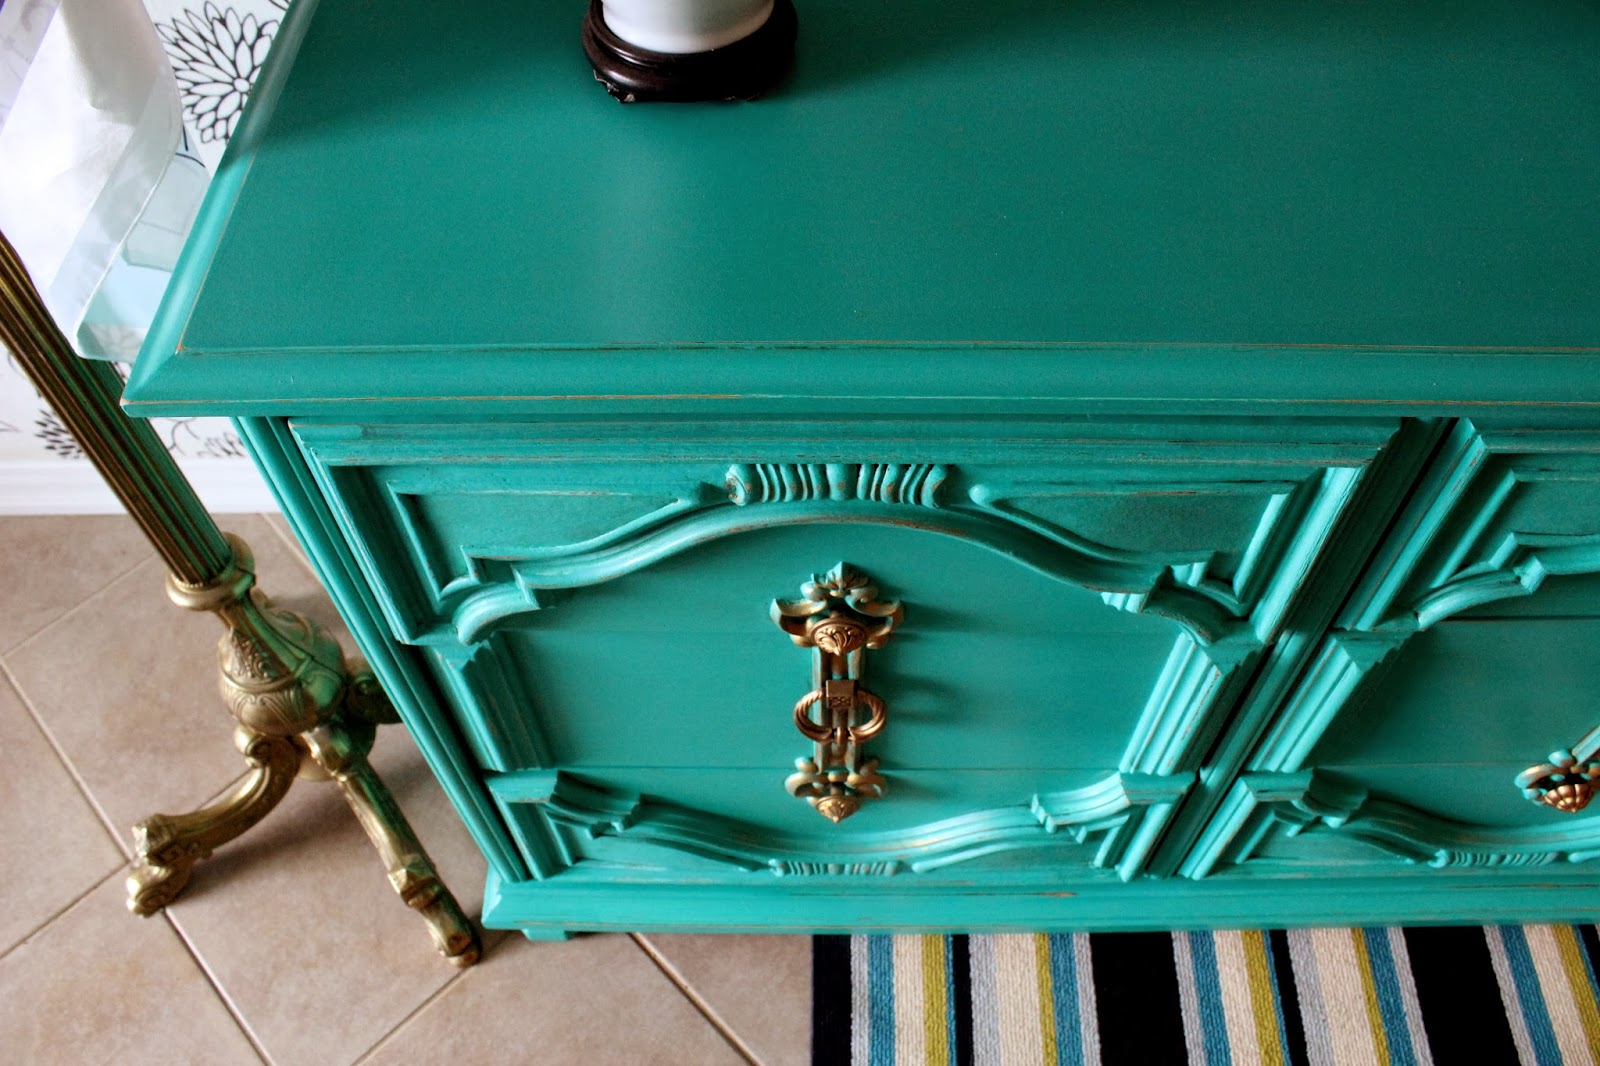
I used rub-n-buff in grecian gold to liven up the contrast of the hardware. I also used the rub-n-buff on the raised detailing that the hardware sits on to make it appear that the whole center area of the piece is a solid piece of gold hardware. I LOVE how the gold and green go together. So regal!
.jpg)
You can see the rub n buff in this close up shot. I have a very similar piece in my living room that we use for our media unit. Mine is more of a blue-turquoise colour, but it has that great contrast with the gold hardware which also received a few lashings of rub-n-buff.
.jpg)
In this corner shot, you can see the lighter colour of the primer peeking through. I find this is another great technique that using primer under chalk paint allows you to do. Its amazing how many techniques and tricks you pick up as you keep painting (and so many of them by happy-accident!)

Here is the before. Isn't she a stunner. I actually get little pangs of guilt when I look at this picture. It was so beautiful with such awesome grain that I almost wish I hadn't painted it. I think there is a purist lurking deep inside of me.
This is a gorgeous piece. Thank for sharing in such detail. I use ASCP, but find it costly& limited in color. Great to know someone else has luck with reg paint.
ReplyDelete