Friday, 4 October 2013

'Many Coats of Red' Dresser

This dresser was a beast to finish.  Oh my word.  It was very average when I picked her up.  Short (having no legs), and bland.  Just a boring old ‘forget-me-please’ waterfall dresser.  It was free though, so I was determined to jazz her up.


I started by adding the legs, first I added these big chunky blocky type legs, but they stuck out too far on the sides and back, so I traded for these more delicate ones.  I then (with the help of Mr. Chuckles) added the trim on the bottom to cover up the annoying trademark waterfall dresser curve.  Lastly I filled all the holes as I knew I was going to add lots of knobs.


Ok, time to start painting.  I tested my paint, and as I feared it went on like stain (next to no coverage)  I use Dulux Diamond because it dries rock hard and has great adhesion, but Im beginning to realize that in their darker colours, the coverage is pretty paltry. If I wanted stain, Id buy stain.


So I decided to prime with a darker colour.  I custom mixed up some primer first in red (but it looked too pink), so I added some gray and it created a sort of purple/gray colour. It’ll do I thought.  The problem was that when it dried it was actually quite dark.  Consequently my ‘red’ paint when on looking more like burgundy due to the dark primer lurking underneath. 

  
In the end it took about 5 coats of red paint plus the coat of primer.  That makes for a sore wrist.  I topped her off with some black glaze and finished her up with a good sand/distressing and a coat of poly.   I think she turned out pretty well considering where she started from, but lordy, Im doubtful I will use up the rest of that red paint anytime soon.


Below is the before, you'll notice she is doing a headstand.


Friday, 27 September 2013

Little bit o'mint

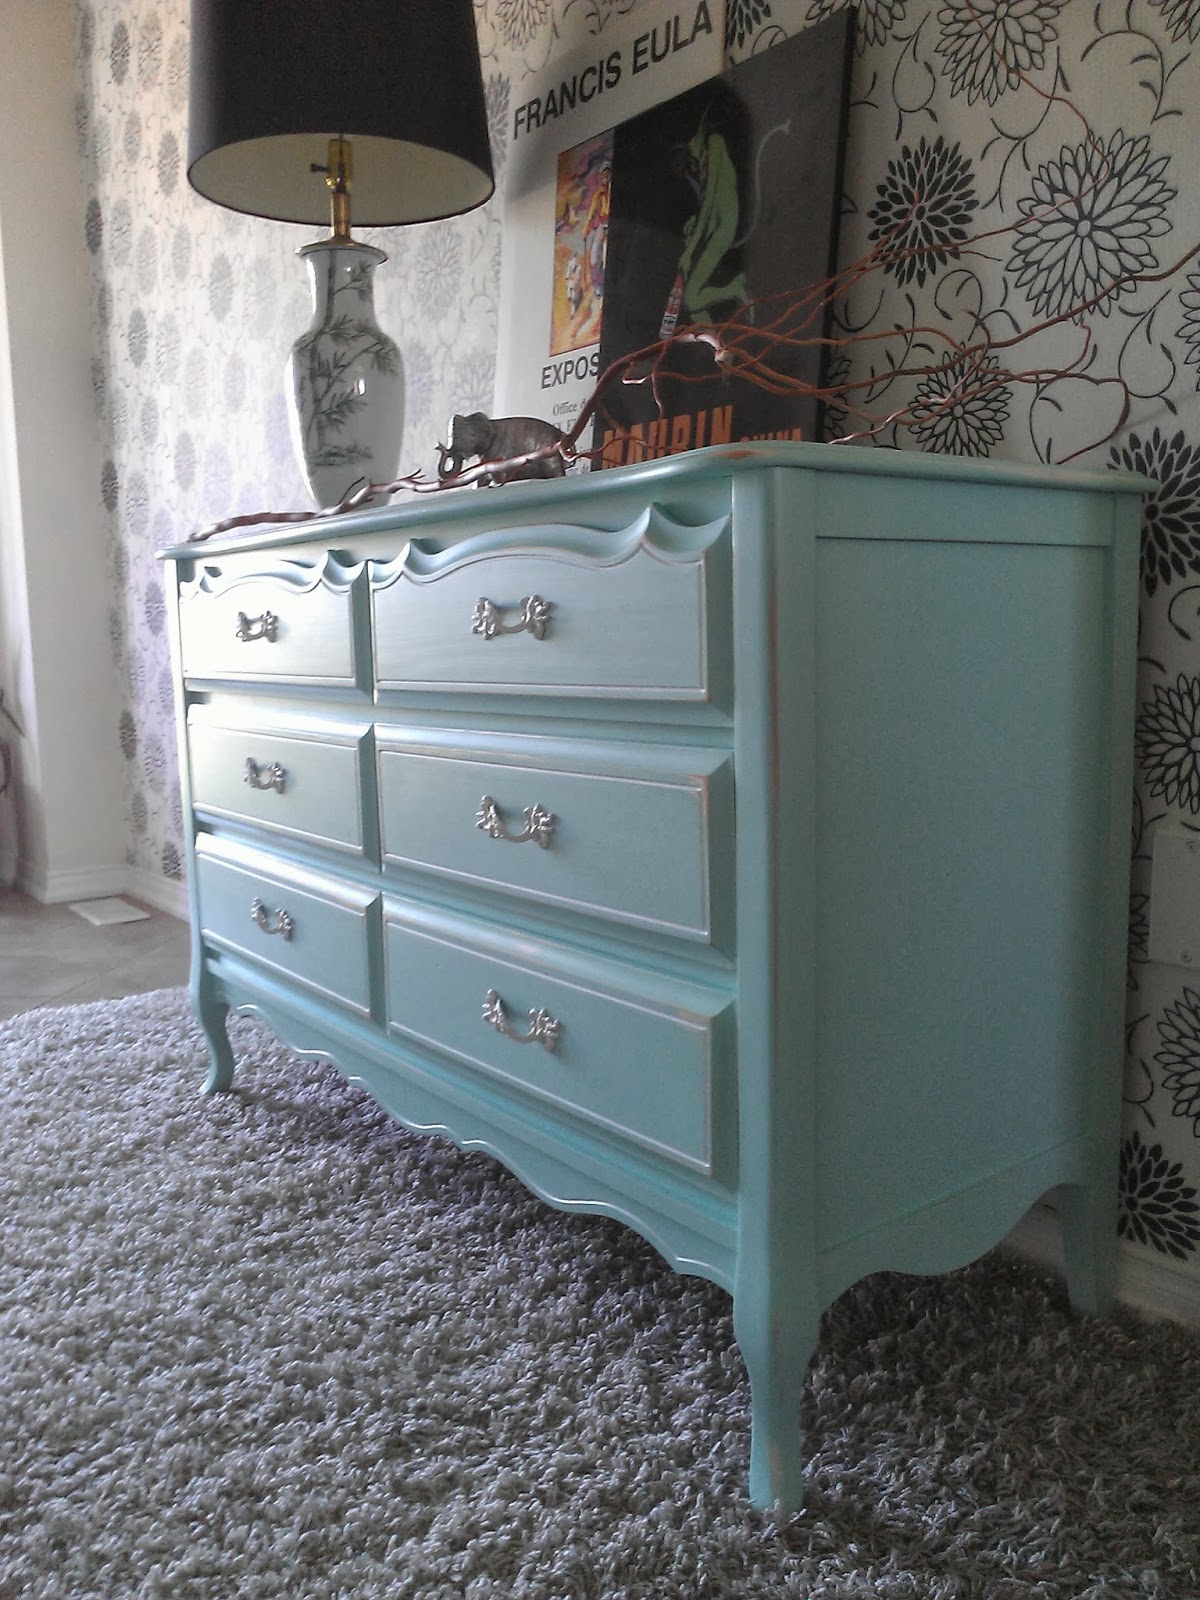
This is the third piece from the French Baronet set.  I really loved the way my previous mint and white dresser (here) turned out, so I decided to go for the same combination again.


I primed the dresser first with primer tinted a mint colour. I then painted on my dulux satin sheen in mint (two coats).  I distressed back revealing some of the original white finish and some of the wood beneath. 


I also painted the recessed trim with white to add some visual interest, and I painted out the hardware white on this one as well.


I topped it all with an oil based poly, and voila!  A cute little piece of French goodness!


I think she would look great as a little entry-hall catch all, or in a nursery too.


The shot below captures the colour really well.  It is a lovely soft mint with just a touch of vibrancy.


Stay tuned for my next piece..Im trying my hand at something red for the first time!

French Baronet in Charcoal

I picked up an adorable solid wood Baronet french style set the other day.  And it was FREE.  Yay!  It was painted in that off white that would have looked adorable in a little girls room 40 years ago.


I picked up a tall 4-drawer dresser, a nightstand, and a six drawer dresser.  I thought about repainting them white and keeping with the little girls theme.  But I just didn't feel like it.  Nope, I wanted to do it in a deep charcoal.


Well, I did the nightstand and the tall dresser in charcoal, but I did the six-drawer in mint and white (pics to come soon). I had low expectations of what was going to lie beneath that old white finish, but I was pleasantly surprised to see it was solid wood!  Nice!


I left the inside of the nightstand white to add a little contrast with the charcoal gray.


I painted out the hardware white, it was originally a two-toned white/gold finish, and I didn't mind it, but I wanted the contrast of the white.  


This charcoal gray I used is a flat paint, and it just doesn't accept wax well.  The wax doesn't absorb into it the way it does chalk paint.  I knew I wanted to top coat with wax on this piece, not poly, so I did two coats of my regular gray flat paint, and the third coat I turned into DIY chalkpaint using PoP.  I worked perfectly!


After the chalkpaint coat dried, I sanded it down to smooth out the roughness and applied the wax. The lustre is perfect, a great hand-rubbed sheen.


Here is the pair of them together.  Aren't they handsome!


Here are a couple of before pics.  Although they look like they are in great condition, the finish was chipping and scratched.  In short, they looked their age (and not in a good way).


Wednesday, 18 September 2013

9-Drawer in Gray and White

Keeping with my recent gray and white theme, I decided to refinish this lovely mid century dresser in.....you guessed it -  GRAY and WHITE!  


This solid wood dresser was in very good shape apart from a few things.  All of the plastic drawer runners needed replacing because the wobble of the drawer had them bonking all about.  I needed to do some planing on the middle door as it had swelled and was scraping when it was being closed, and the top needed to be sanded very deeply in order to remove some very deep scratches.  Other than that, it was in great shape.


I used a very similar shade of gray to the little antique dresser I just refinished (here).  It is light and fresh and is versatile in its ability to blend in to any decor.


How about this awesome gray decorative paper!  Sha-zam!  I think it makes a great addition and contrast having the dark gray beside the light gray.


As usual, I used modpodge to attach this contemporary paper. I love adding paper to drawers behind cupboard doors, it has such 'wow' factor when the door is opened. 'come on in and play with my drawers!' it screams.


Because I didn't distress this piece, I primed the entire thing with Zinsser BIN.


For the middle door, I highlighted the recessed detailing with white, I also painted the hardware white and added a white square trim detail around both sets of outer drawers to add a more chic feel to it.


Im not sure why these pics all came out so blurry, but hopefully you get the idea!