Showing posts with label media unit. Show all posts

Sunday, 11 May 2014

Refinished MCM Cabinet

Well blow me down Im tired!  Mother's Day has taken it out of me.  And Im not even a mother..  I do have a cat, Ms Do-As-I-Please, but all she gave me for mother's day was a morning armpit sniff and a ferocious bath refusal.  No bacon, no eggs, just a sniff sniff and a whisker tickle.
 
 
 I did spend the afternoon with my mom, sisters, and their kiddies.  I took the two older ones down to the creek to try and catch fish.  And before that I was working on furniture all day (no complaints there!) but Im happy to be flopped on the couch now.


So I just finished this beauty.  And sometimes wood is just so great that you can't bring yourself to paint over it.  This piece spoke to me...it said...don't paint me. And I listened (for the most part, I did paint the hidden drawer).
 
 
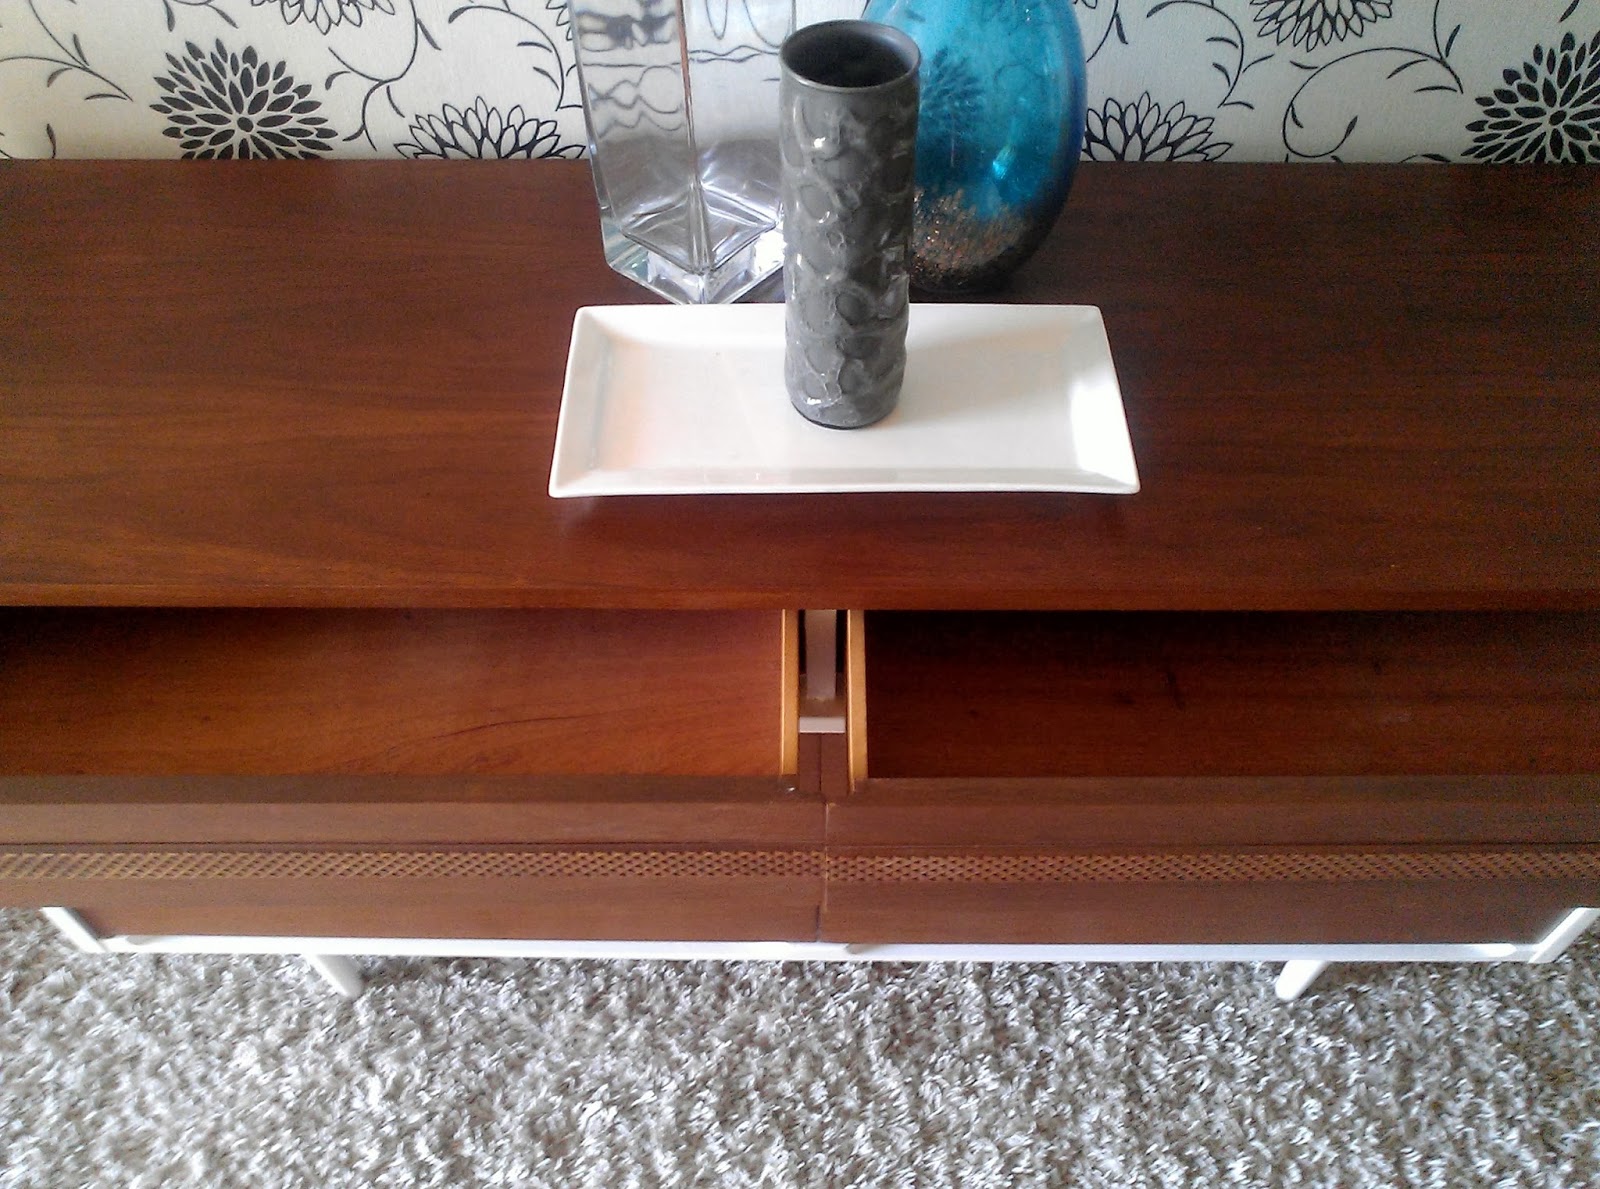
It was in very good condition, but still needed a little spruce up.  I sanded the top and front panels back to the grain and re-stained.
 
 
I finished with 5 coats of satin sheen polyurethane.  The finish is fantastic.
 
 
It has one little drawer, and I did let myself paint that just to add a little bit of contrast when you slide the cupboard open.  I also lined it with vintage material.
 
 
I love the spidery legs. 
 
 
This shot shows how great the top came out.  I custom mixed up the stain using dark walnut and an orangey colour stain I have (can't remember what its called at the moment and Im too lazy to go check quite honestly!).


The shot below is the before, you can see how good the condition was, but up close there were some scratches and dings.  A little photobomber in the foreground there.


Sunday, 3 November 2013

Contemporary-meets-Vintage

This dresser took me to the brink and back.  I was nearly ready to pack in my paint brushes for good.  I cant be certain, but Im think it took me about 15-20 hours to refinish.  Way tooooo long.  Oh my word. This is the dresser I said I was going to pop a bottle of bubbly when she was all done.  Yep, it was that bad.  I needed alchohol in a big way at the end of this project.


That is what she looked like before.  She wasnt bad, but I knew I wanted to go for a contemporary - meets - vintage vibe, and those swirly little details and pipe-shaped wooden pulls were not going to cut the mustard.


Although I think she turned out great.  I am not so sure it was worth all the trouble.  Being honest here.


Ok, so lets talk 'steps' in this transformation.  First, we stripped the top down (to read about this experience click 'here'). Then we sanded smooth with the orbital, as well as sanding the rest of the dresser.

Secondly we had to fill all the holes on the drawers, there were 6 on each drawer.  This took two coats of wood filler, with sanding between each coat.


Because I opted to remove the Nike 'swooshes', I had a lot of little nail holes to fill.  These were finicky! Every time I thought I had them perfectly sanded, I would prime and do a coat of paint, only to realize that I could still see the holes.  I filled them three times before I was happy.  


I bought new hardware, I knew I wanted something that was gold, simple, contemporary yet still vintage.


I restained the top in a custom mix featuring walnut with some orangey hues.  I was surprised that the top didn't go as dark as I expected.  But I actually like the lightness of it as it shows the grain nicely.  I protected with tung oil and a coat of paste wax.


Initially I left the inside of the cupboard door white, but I wasn't happy with it, so I modpodged on some gray/white contemporary paper for a little bit of interest and 'wow' factor.


I had to change out the legs too.  The back legs were great, but the front legs had this weird diamond shape to them.  I wanted simple and clean lines, so they simply wouldn't do.  Four new legs please.


Big exhale here. I don't mean to whinge, but man, this girl was a lot more work than I anticipated!  I am treating myself by doing a quick and easy dresser next with lots of rustic character to it.  Cant wait!  White is so time consuming.  I did two coats of primer, and 4 coats of paint!

Off to drink the champers now!

Friday, 18 October 2013

And yet another two-toned MCM!

Here is the latest in my mcm marathon.  As I mentioned previously, I am working my way through my stash of pieces, next up is a long credenza and matching nightables that are going to get a re-stain.  Too beautiful to paint!


For this little gem, I decided to go for a slightly different look.  The top was in such fantastic condition that I decided to restain, rather than paint the whole outter casing white.

  
This is a little extra work, but fortunately the finish wasn’t super thick and glossy, so it sanded pretty easily.


Only the front facing trim was painted in off-white. Oh and the legs too as I wanted to create a sense of airiness.  The rest of the dresser and drawer facings were re-stained in walnut.


I love this little honeycomb-esq detailing on the top drawers, adds just that little bit of detail and texture to the piece.


 I was a little nervous about how just painting the front trim would turn out (and not the entire casing), but I have to say Im pleasantly surprised.  It adds just that little bit of interest and contrast, yet still retains the charm of the wood.


Friday, 4 October 2013

Pair of Two-Toned MCM Beauties!

I picked up this beautiful pair of dressers from a very kind gentleman who was moving out of town to be closer to his girlfriend.  He decided to sell up most of his stuff prior to leaving.  I love MCM pieces (doesn’t everyone?) and jumped at the chance to pick up these two beauties. 


First up is the six-drawer which features two drawers with horizontal trim and four drawers with vertical trim for a nice contrast.  I also love the little white piece which separates the bottom drawer halves. 


 They were in very good ‘vintage condition’ already, but the tops and sides had some markings.  Because of this I decided to do a two-tone look which I have done previously (here).  I used an off-white as I find a pure white a bit to stark next to the warmth of the wood.


I removed the drawers and sanded the body of the dresser, I also removed the feet in order to sand and paint them too. I primed first and then did about four coats of white paint (any wonder why I hate painting in white?).  But it was worth it, because I love how good the off-white looks with the walnut drawers.


The drawers were in very good shape with just a few small markings here and there, however, they had a real 70s glossy finish on them.  I decided to lightly sand back the drawer facings to remove that shine, and then do a light coat of gel stain in dark walnut. 


The gel stain didn’t really change the colour much, but the finish is a lot flatter and more contemporary looking now. 


I love the ribbed detailing on the drawer facings, much more unique than just a straight type of panel.


Next up is a frenchy dresser in (what I hope) will be a lovely shade of green!  Have a great weekend.

Monday, 27 May 2013

Very Whitewashed Grey Dresser

This dresser was a long and drawn out affair (think Victor and Nikky from Y&R)  I began by painting it a light blue, but the finished effect looked ill suited to anything but a nursery.  The plan was to have it in our bedroom, so nursery was definitely out of the question.


Phase two was to paint over the blue with grey.  It looked better.  A little.  But it still didn't have any pazzaz and it just didn't quite get me excited.


Phase three was to whitewash over the grey, ok I started to like it a little more, but it needed some extra contrast in my mind, bring on Phase four..


Phase four was to stain the top a very very dark chocolate (almost black) to amp up the contrast a bit.


It is a great addition to the muted tones of our bedroom and provides ample storage for Mr. Chuckles' unmentionables.


The cute vintage pictures are framed advertisements from old 1950s 'Life' magazines passed down to us from Mr. Chuckle's grandfather. I love the one of Santa holding a typewriter.


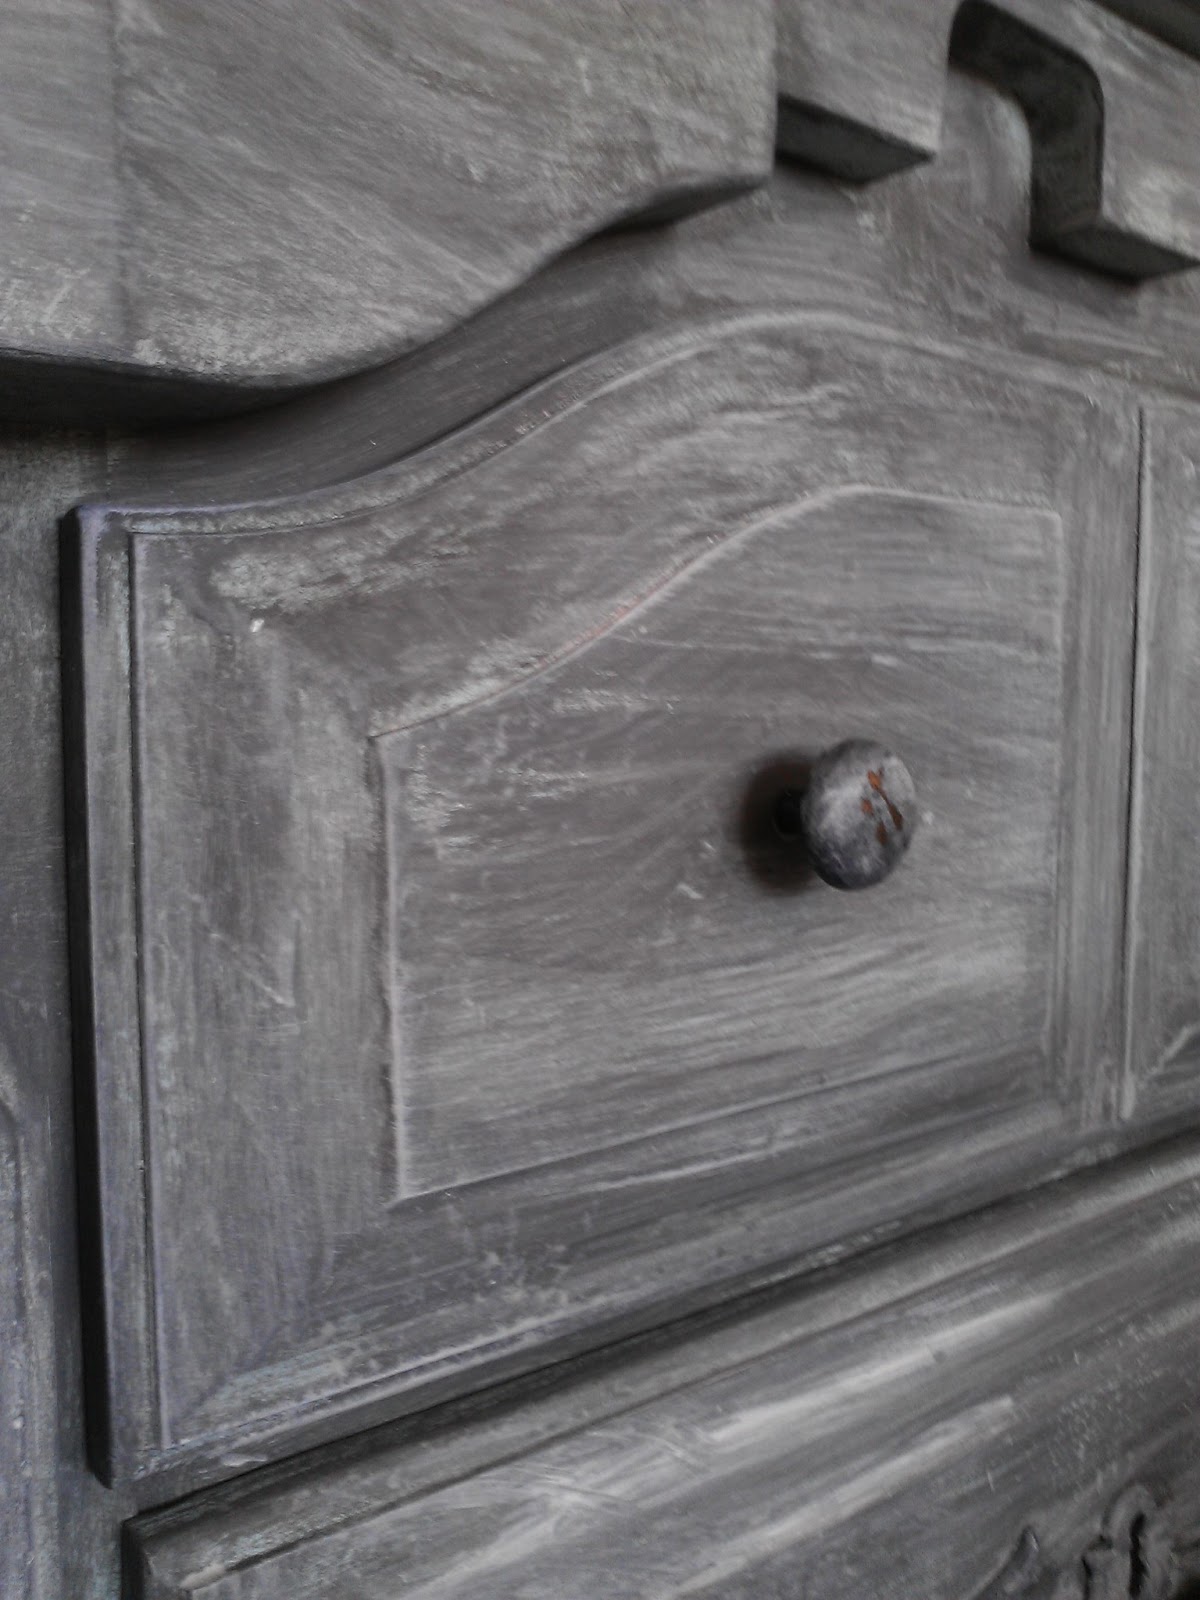
A close up of the whitewash technique.  I painted over the knobs as well, and then did some light distressing to show the brass through.  

I haven't decided if I will distress the dresser.  What do you think?