Showing posts with label walnut. Show all posts

Sunday, 25 May 2014

Is That an Optical Illusion in my Woodgrain...

I discovered this beautiful piece whilst out perusing my favorite re-store.  I spotted her strong beauty straight away - I think she was flexing her biceps at me, and as a bonus, she came with a large 'leaner' mirror. 

 
An older gentleman also navigating the store's aisles stopped and gave me a wink.  He said, 'that is a very good piece of furniture. Solid wood.  You could refinish it by sanding back and it will be beautiful again."

 
You read my mind little old man!
 
 
If you have read my blog before, than you know that sometimes the wood purist in my (inherited from my traditional parents) chirps up and commands 'Put thy paintbrush down, young lady!'  Sometimes I listen, sometimes I don't.   If its an ugly 70s dresser, than paint is almost a must to make the piece tolerable again.  But on MCM pieces, I will usually restain, or do a two-tone.
 
 
This piece had stunning grain.  Like swirling Van Gough clouds dancing across the top.  Paint that?  I. Just. Cant. 
 
 
But more amazing.  This piece contains an OPTICAL ILLUSION on the wooden inlay of the middle bank of drawers!!  Can you see it?  Take a look through the pictures, its pretty obvious, and SUPER COOL if you ask this old bird!  Stare at it long enough and it will turn into a breaching whale with a rainbow overhead!  Serious! You just need to keep staring.
 
 
So after I hauled this mammoth home (all 75" of her), I plugged in the orbital and sanded off the old finish which was easily done on all parts accept the top.  The top had a few extra coats of protection and it was making the orbital (and my elbow) wheeze...so I stripped it instead and finished it off with the orbital.
 
 
I was very careful not to sand through the grain, this can be tricky at the edges and corners (as I have learned the hard way in the past).  After all was sanded, I wiped down all the dust and I started staining.
 

I than protected with three coats of poly (5 on the top).


I opted to keep the original hardware because I love the way they slope up at the top. It reminds me of the peaks on BRASLIA dressers.
 
Here is the before.  She is on her side. She had a lot of scratches, but overall very good condition. No significant chips or dings.


Tuesday, 17 December 2013

Just another two-toned MCM


And Voila!  Another two-toned mcm.  This piece was awesome, I loved the wood pulls that stick out at both the top and the bottom of each drawer, it doesn't come out well in the pics, but in real life they add some great visual interest.


The piece itself was in really good shape.  There were a few dings and nicks in the top and sides of the unit, so after sanding back, I filled with two coats of wood filler, sanding well after each to smooth things out.  That took care of the problem and she looked good as new!


After cleaning off the sanding dust I primed the entire body of the dresser with 2 coats of GRIPPER.  I only started using this primer recently and I really love it.  It gives fantastic coverage and has awesome adhesion. I didn't sand back to the bare wood on this one, just a good deglossing, so fortunately I didnt need to whip out the Zinsser BIN for bleed through.


The drawer facings were in great condition and they have a wonderful colour that features warm amber/reddish tones, so I just gave them a good clean and left them original.


I considered staining the legs, but opted to paint the out instead to create a sense of airiness under the dresser.   I then painted with my Dulux Diamond in Pearl (2 coats) which I custom tinted to a creamy off-white.


She turned out great and was definitely worth the drive to pick up!

Wednesday, 23 October 2013

Mid century modern set

Well Im slowly working my way through my stash of mid century pieces and the garage is starting to exhale again as the stress of containing everything alleviates.  Another problem is arising though - Im accumulating a surplus of dresser mirrors again. Doh!


It was love at first sight with this piece, and worth the one hour drive to pick her up.  She belonged to a lady who obviously loved her, because she was in very good condiiton.  The drawer facings and sides were all pretty great, only the top needed some TLC.


I set about sanding off the entire top.  Because there was not a heavy finish on it, it came off pretty well.  One problem I did encounter was I noticed the sandpaper on my orbital kept 'gumming' up very frequently.  Everytime this happened, the sanding slowed down noticeably and I would change to a fresh piece and it would come off effortlessly until it gummed up again.  So there you go, if you find that your finish is not sanding off well, than it could be because your sand paper is gumming on you.


I suspect the 'gummy' stuff was old furnture polish residue.  In the end I gave the entire top (all 78" of it) an overview sand to remove just the layer of gunge.  I then changed out the sandpaper (again) and the finish came off pretty well then.


I custom mixed up some stain to best try and match the rest of the piece.  I used gel stain.  It turned pretty good.  I then finished with a thick coat of Danish Tung Oil finish which really looks wonderful and matches the low sheen look of the rest of the piece.


These drawers are super-duper long, so the were catching a bit against the sides and each other, so I got the orbital out again and planed them a bit.


I cleaned up the rest of the dresser, and used gel stain to dab at some of the smaller blemishes.  I wanted to keep as much of the original finish as I could.

Next up were the nightstands.  Again, underneath a layer of mould, they were in awesome condition (apart from the tops again).


I used some retro material I picked up for $1 a metre at my favorite restore and lined the drawers.


I sanded back the tops only, and refinished them using the same steps as the long dresser.  The sand paper didn't gum up this time though, so I assume it didn't get the lavish furniture polish treatment that the main dresser did.


I really love this set with the long skinny drawers and the low look.  The credenza is only 27" tall. Very streamlined.


This is for sale on my ETSY shop


Friday, 18 October 2013

And yet another two-toned MCM!

Here is the latest in my mcm marathon.  As I mentioned previously, I am working my way through my stash of pieces, next up is a long credenza and matching nightables that are going to get a re-stain.  Too beautiful to paint!


For this little gem, I decided to go for a slightly different look.  The top was in such fantastic condition that I decided to restain, rather than paint the whole outter casing white.

  
This is a little extra work, but fortunately the finish wasn’t super thick and glossy, so it sanded pretty easily.


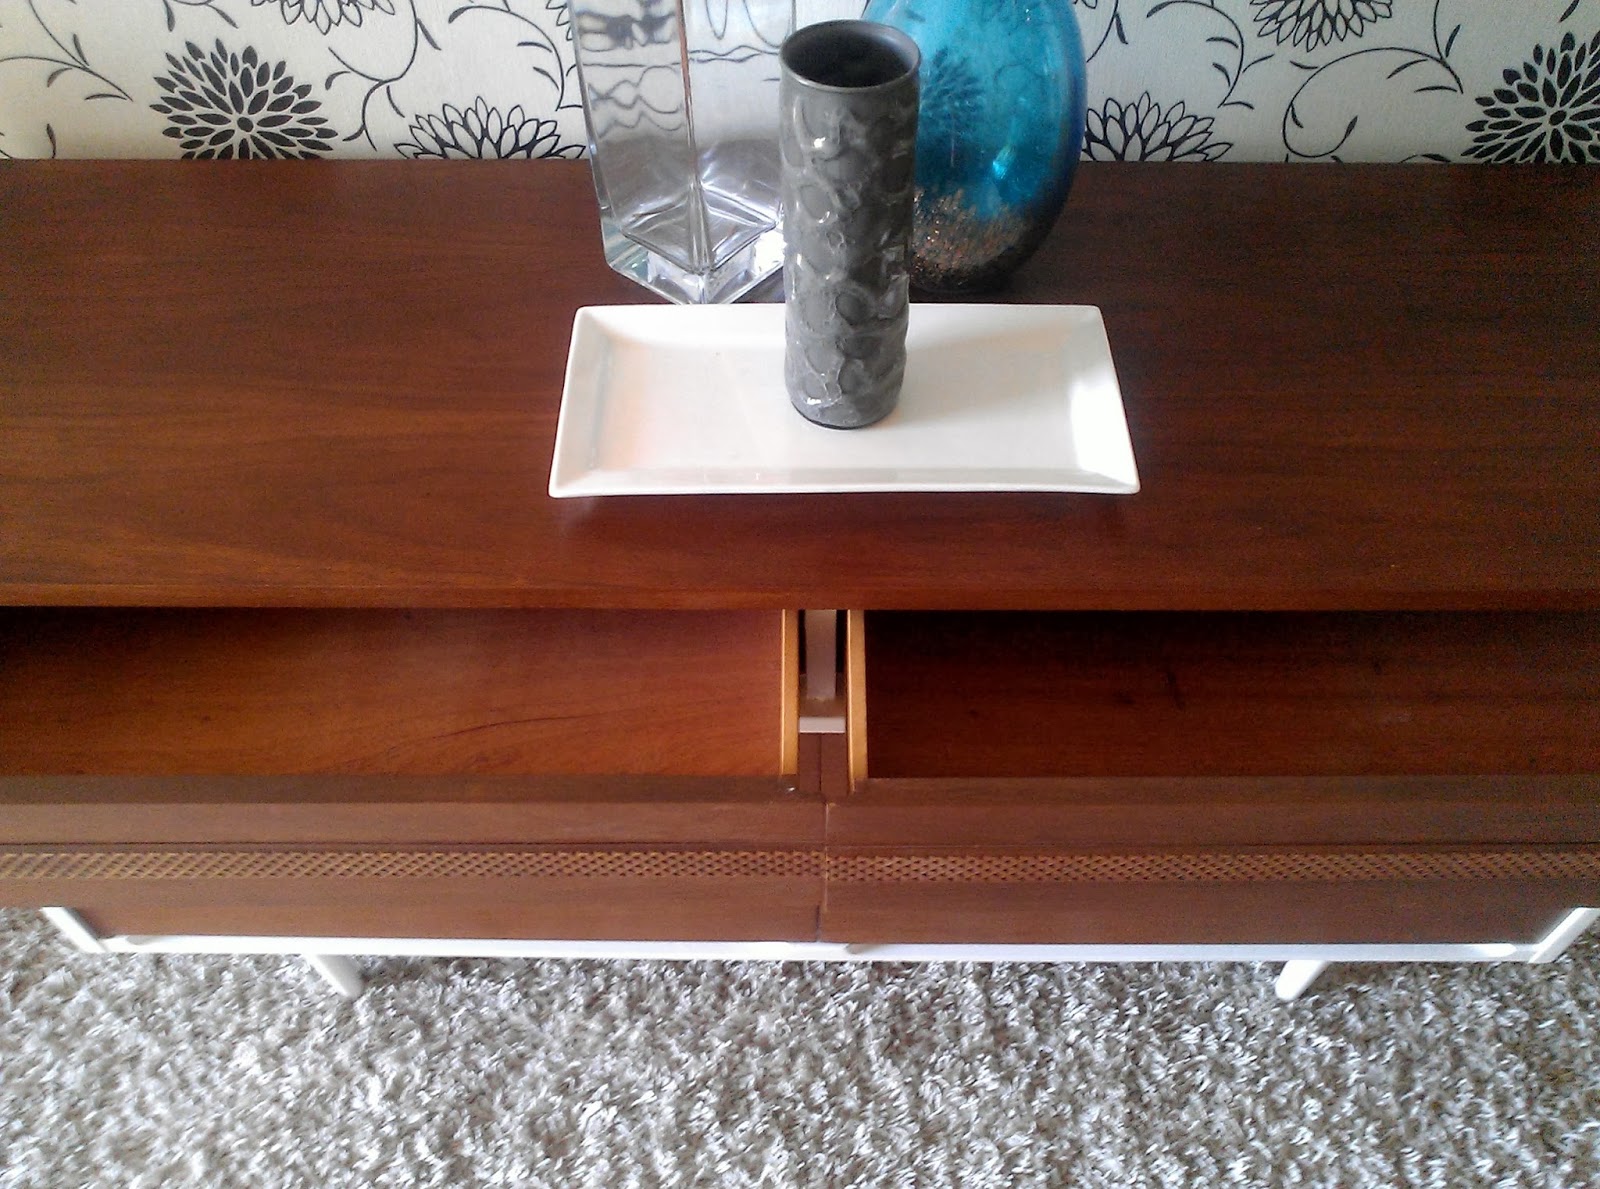
Only the front facing trim was painted in off-white. Oh and the legs too as I wanted to create a sense of airiness.  The rest of the dresser and drawer facings were re-stained in walnut.


I love this little honeycomb-esq detailing on the top drawers, adds just that little bit of detail and texture to the piece.


 I was a little nervous about how just painting the front trim would turn out (and not the entire casing), but I have to say Im pleasantly surprised.  It adds just that little bit of interest and contrast, yet still retains the charm of the wood.